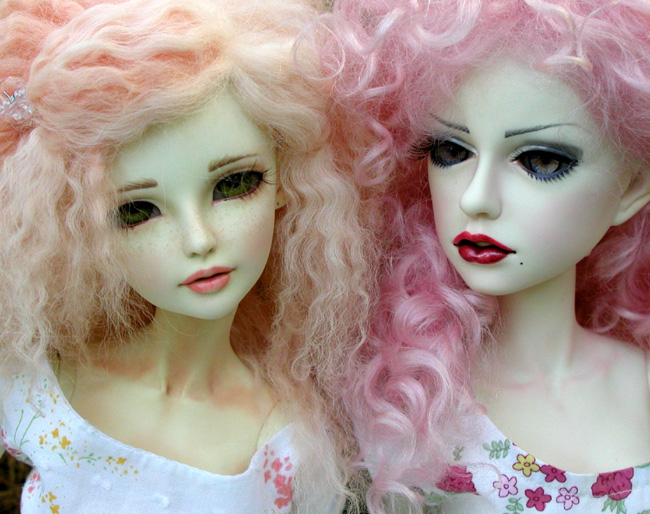
On the left is a Lishe from Luts, on the right is an Estella head from DollsTown on a Soom body. They are gorgeous now because my wonderful friend TracyP) took pity on me - and the girls!
When Lishe first arrived - her head that is, the body was purchased separately, both second hand, my first "project" BJD - there was a lot of work to be done sanding her smooth, cleaning the resin's yellowing and getting the old face paint of of her facial crevices. That was quite a lesson on doll face-lifts, not as ugly as human face-lifts, but nearly as terrifying.
When cleaning resin doll parts ...
- a two minute soak in 91% Isopropyl alcohol helps considerably in getting off sealer and facial paint; use further-soaked paper towel for the large areas, soaked Q-tips for the small, and an alcohol-soaked wooden toothpick for those hard to reach places. Always rinse well in cool water. Keep drinking alcohol on hand for yourself, it makes the process seem smoother, I recomend Red Truck highly. This strength of alcohol seemed to help lighten yellowing as well.
- Soaks in an OxyClean solution also help lighten the color of yellowed resin so you might not have to sand at all. Yellowing happens for many reasons; age, too much sun exposure, hand oils and general dirt.
- If you do need to sand your resin doll, use the finest grit sandpaper available - preferably one backed by sponge - otherwise the sanding is too harsh and can scrape the resin away faster than you thought possible.
- Have heard that soaking the resin parts in hydrogen peroxide (leave in a dark area, as it loses it's potency in light) for a couple or more days will whiten resin well. I have NOT tried this myself yet.
- It is always best not to do any of these without checking to make sure there are no adverse effects, the inside of head caps makes good testing ground.
- Keep in mind that what works on one company's resin may not work on another's as they all have different resin properties.
For Lishe's face-up I wanted something soft, pretty and clean and made a couple attempts at doing this using watercolor pencils and chalk pastels. Unless you want to invest in an airbrush and get REALLY good with it before going near a Dollfie, stick to these kinds of pencils and chalks, mistakes erase easily and the materials blend well together with a touch of water. (I've been told by a few to steer clear of acrylic paints on resin, it tends to flake off.)
The best sealer for resin dolls is a product called Mr. Super Clear, it doesn't yellow or clump up like other sealers are known to. MSC's instructions are all in Japanese, so shake for two+ minutes and do thin even coats, letting them dry thoroughly between layers. Use a coat for an underlayer to give your pencils and chalks something to grip onto.
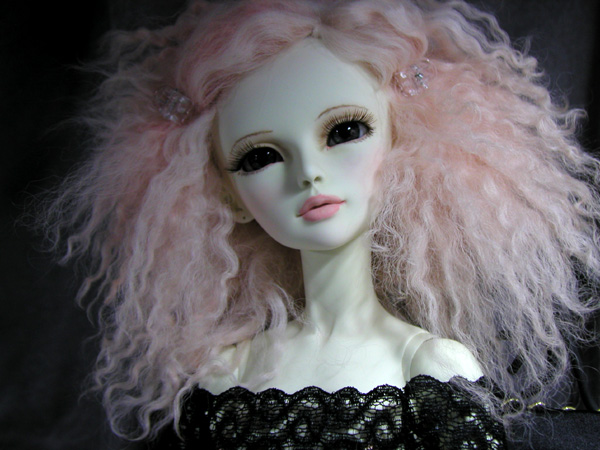
This was my first attempt, not horrible, somewhat amateur but pretty:
And my second - good freaking lord!:
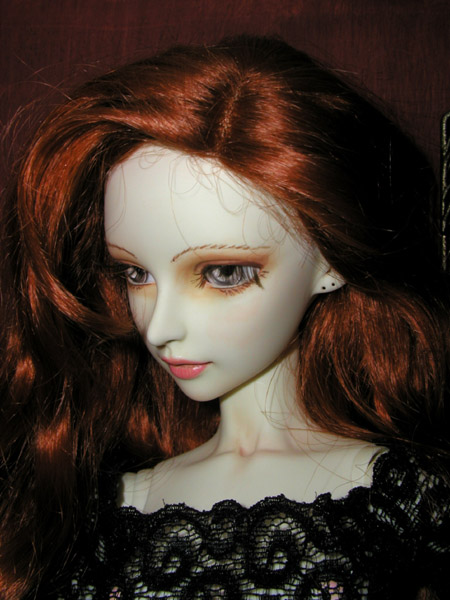
And then I cried "TRACY!!!" and she did the job with the expertise that I just don't have the patience to learn ... there's just not enough red wine for that ...
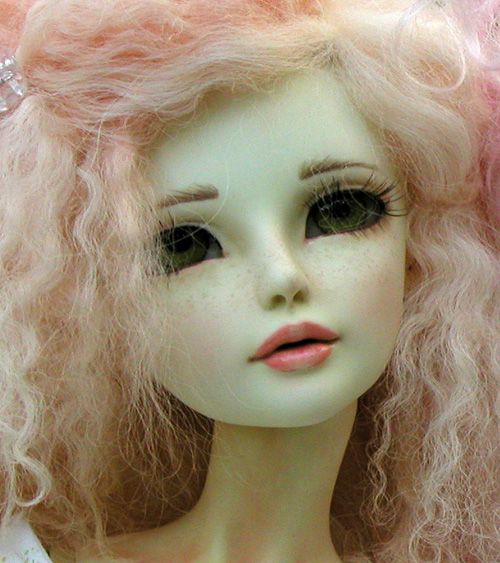
Isn't Lishe lovely now?! (Nevermind the straggling hairs.)
Similar happened with Estella ...
Never even got the eyelashes on with the first attempt:
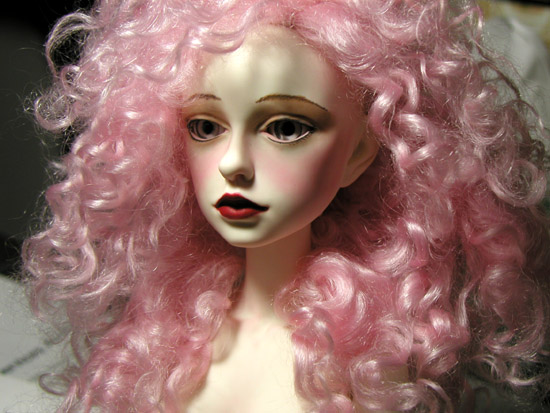
The second attempt lasted longer, and told me that yeah, this is the color scheme that fits her, but still no cigar ... more like crayon:
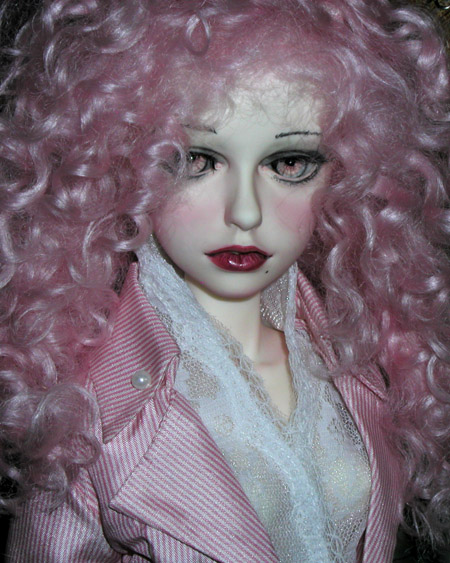
Tracy's work is SO much more satisfying! This is a doll's happy look:
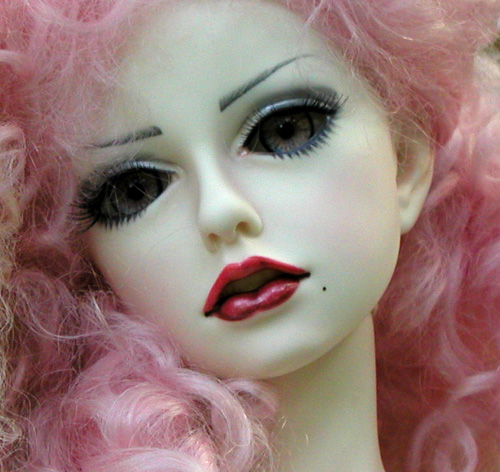
So, Lesson #1 with modifying your own doll: know when it's time to put the job in someone else's (significantly more capable) hands!
